Add the Sentry SDK to Your Project
Learn how to add the Sentry SDK to your frontend codebase.
This section walks you through how to import the sample application into your local development environment, add the Sentry SDK, and initialize it.
If you're using your own source code, you can skip this section. Instead:
- Select your platform and follow its Getting Started guide to add the Sentry SDK to your code.
- Then, skip to the next step.
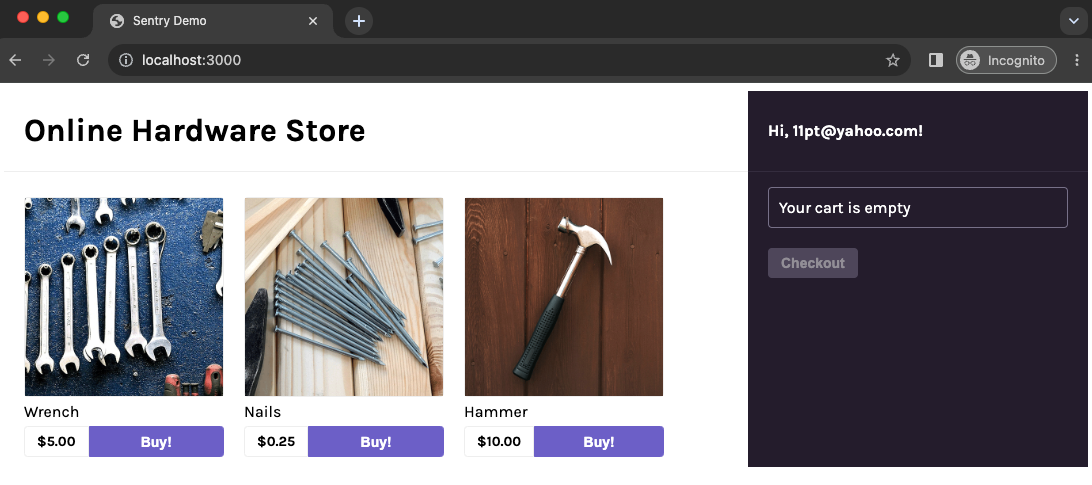
The sample application is a basic frontend-only application using React and webpack.
Fork the sample application's repository on GitHub.
Clone the forked repository to your local environment:
Copiedgit clone git@github.com:<your_username>/frontend-tutorial.gitOpen the
frontend-tutorialproject in your preferred code editor.
Sentry captures data by using a platform-specific SDK that you add to your application's runtime. To use the SDK, import and configure it in your source code. This demo project uses Sentry's React SDK.
Install the Sentry React SDK using NPM.
Make sure you're in the
frontend-tutorialproject folder.Copiednpm install @sentry/react --saveImport and initialize the SDK.
Open
src/index.jsand add the following lines of code below the last import statement:src/index.jsCopiedimport * as Sentry from "@sentry/react"; Sentry.init({ dsn: "<your_DSN_key>", integrations: [Sentry.browserTracingIntegration(), Sentry.replayIntegration()], // Set tracesSampleRate to 1.0 to capture 100% // of transactions for performance monitoring. // Learn more at // https://docs.sentry.io/platforms/javascript/configuration/options/#traces-sample-rate tracesSampleRate: 1.0, // Capture Replay for 10% of all sessions, // plus for 100% of sessions with an error // Learn more at // https://docs.sentry.io/platforms/javascript/session-replay/configuration/#general-integration-configuration replaysSessionSampleRate: 0.1, replaysOnErrorSampleRate: 1.0, ${<Include name="code-comments/javascript/trace-sample-rate" />} });It's important to import and initialize the SDK as early as possible in your application's lifecycle so Sentry can capture errors throughout the lifecycle.
Learn more about the tracesSampleRate, replaysSessionSampleRate, and replaysOnErrorSampleRate.
Add your DSN key to the Sentry SDK configuration.
Paste in the DSN key value you copied from the project created in the previous section.
src/index.jsCopiedSentry.init({ dsn: "<your_DSN_key>", // ... });Save the file.
The options set in Sentry.init() are called the SDK's configuration. The only required configuration option is the DSN. However, the SDK supports many other configuration options. Learn more in our Configuration docs.
The configuration above enables Sentry's error monitoring feature, as well as its Performance (tracing) and Session Replay features.
In the frontend-tutorial project folder:
Install project dependencies.
Copiednpm installStart the application in develop mode.
Copiednpm startOnce the application starts, you'll see a confirmation message similar to this one in your terminal:
Copied<i> [webpack-dev-server] Project is running at: <i> [webpack-dev-server] Loopback: http://localhost:3000/ ... webpack 5.87.0 compiled successfully in 1306 msTroubleshooting tip: If the application fails to start due to syntax errors or errors for missing dependencies/modules, make sure you're using Node 18+ and install dependencies again. Run
nvm use 18and thennpm install.Open the sample application in your browser.
The sample app should be running at http://localhost:3000/ or the URL output in your terminal in the last step.

At this point, you have a sample React app running with the Sentry SDK initialized. Next, Capture Your First Error to start using Sentry's error monitoring feature.
Our documentation is open source and available on GitHub. Your contributions are welcome, whether fixing a typo (drat!) or suggesting an update ("yeah, this would be better").