Travis CI
Learn how Sentry and Travis CI automate release management and help identify suspect commits.
This guide walks you through the process of automating Sentry release management and deploy notifications in Travis CI. After deploying in Travis CI, you’ll be able to identify suspect commits that are likely the culprit for new errors. You’ll also be able to apply source maps to see the original code in Sentry.
Before starting, confirm that your Sentry project is properly set up to track commit metadata by installing a repository integration. Once that's installed, and you've added your repository, come back to this guide. If you've already installed a repository integration, you're ready to go.
For Travis CI to communicate securely with Sentry, you'll need to create a new internal integration. In Sentry, navigate to Settings > Developer Settings > New Internal Integration.
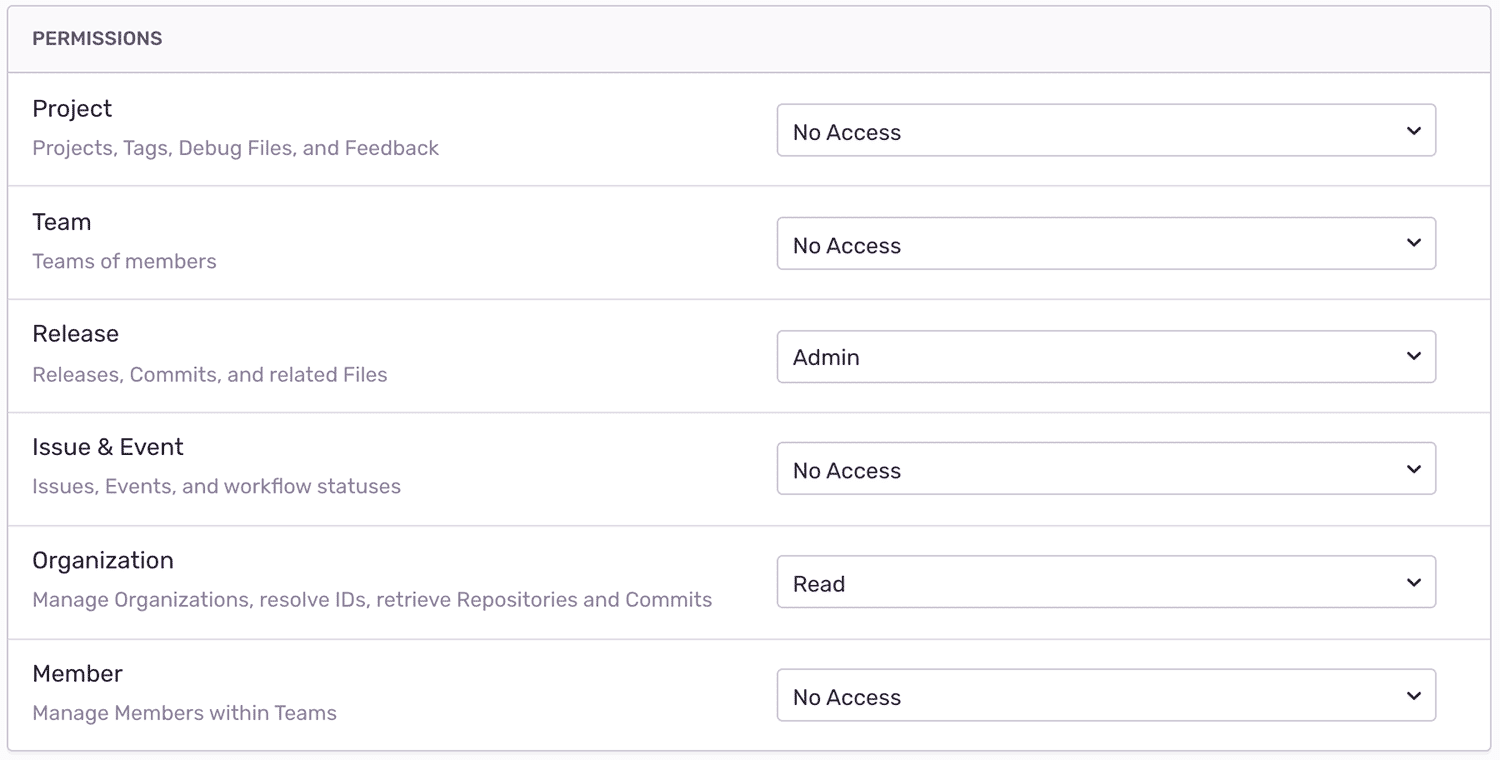
Give your new integration a name (for example, “Travis CI Deploy Integration”) and specify the necessary permissions. In this case, you need Admin access for “Release” and Read access for “Organization”.
For more details about scopes and API endpoints, see the full documentation on API Permissions.
Click "Save", then record your token, which you'll need in the next section.
Next, you'll need a few environment variables to configure the Sentry CLI:
SENTRY_AUTH_TOKEN- Your internal integration tokenSENTRY_ORG- Your Sentry organization slugSENTRY_PROJECT- Your Sentry project slug
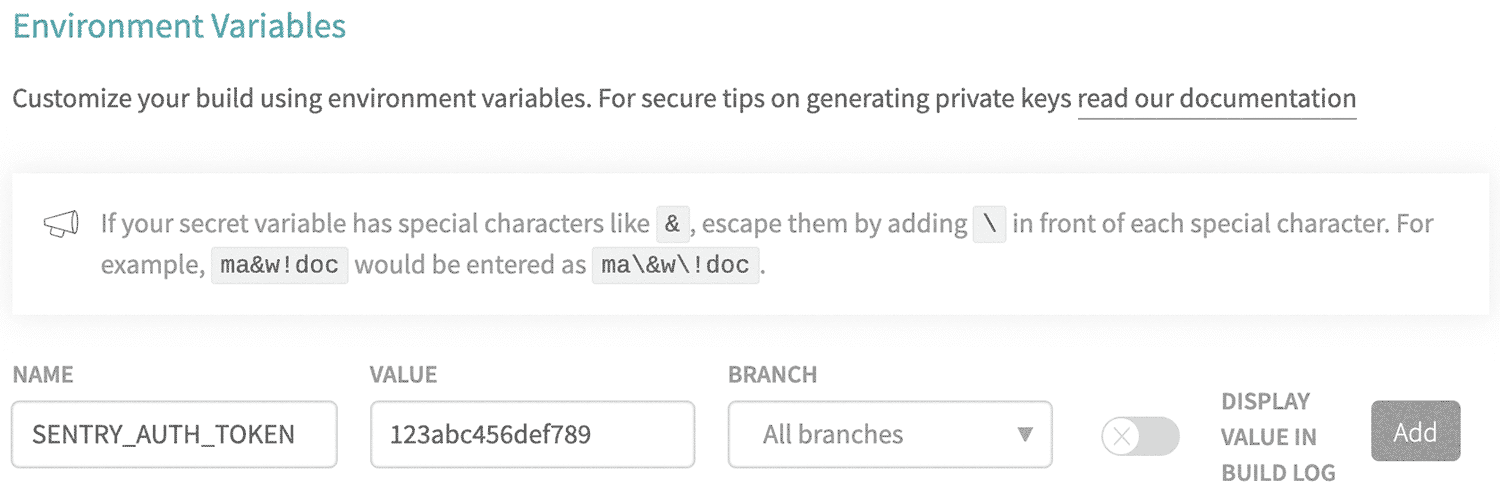
To access your internal integration token securely, store it as an environment variable on your repository:
- In the Travis CI application, go to your repository's settings by clicking "Settings" from the "More options" menu.
- Find the "Environment Variables" section.
- Add a new variable with
SENTRY_AUTH_TOKENas the name and your internal integration token as the value.
The other variables do not contain sensitive information, so you'll use the env key to define them as environment variables in your .travis.yml file.
To automate your Sentry release management process, you'll need to add the Create release and notify Sentry of deploy job below after your deploy step:
jobs:
  include:
    # ...
    - name: Create release and notify Sentry of deploy
      env: SENTRY_ORG=sample-organization-slug SENTRY_PROJECT=sample-project-slug SENTRY_ENVIRONMENT=production
      script: |
        curl -sL https://sentry.io/get-cli/ | bash
        export SENTRY_RELEASE=$(sentry-cli releases propose-version)
        sentry-cli releases new -p $SENTRY_PROJECT $SENTRY_RELEASE
        sentry-cli releases set-commits $SENTRY_RELEASE --auto
        sentry-cli sourcemaps upload --release $SENTRY_RELEASE path-to-sourcemaps-if-applicable
        sentry-cli releases finalize $SENTRY_RELEASE
        sentry-cli deploys new -e $SENTRY_ENVIRONMENT
For more details about the release management concepts in the snippet above, see the full documentation on release management.
Notes:
- If you’re not deploying a project that requires source maps or you've sent source maps to Sentry using another method, omit the
sourcemaps uploadline. - If you can’t install a repository integration, send commit metadata using the create release endpoint or omit the
set-commitsline (set-commitsis required for suspect commits). sentry-cli releases propose-versiondefaults to the commit SHA of the commit being deployed (recommended). To set this to a different version, modifySENTRY_RELEASEto the preferred version.
Our documentation is open source and available on GitHub. Your contributions are welcome, whether fixing a typo (drat!) or suggesting an update ("yeah, this would be better").