Spend Allocation
Learn how to allocate reserved volume to specific projects so that the most important projects are always monitored.
This feature is only available to organizations with an Enterprise plan.
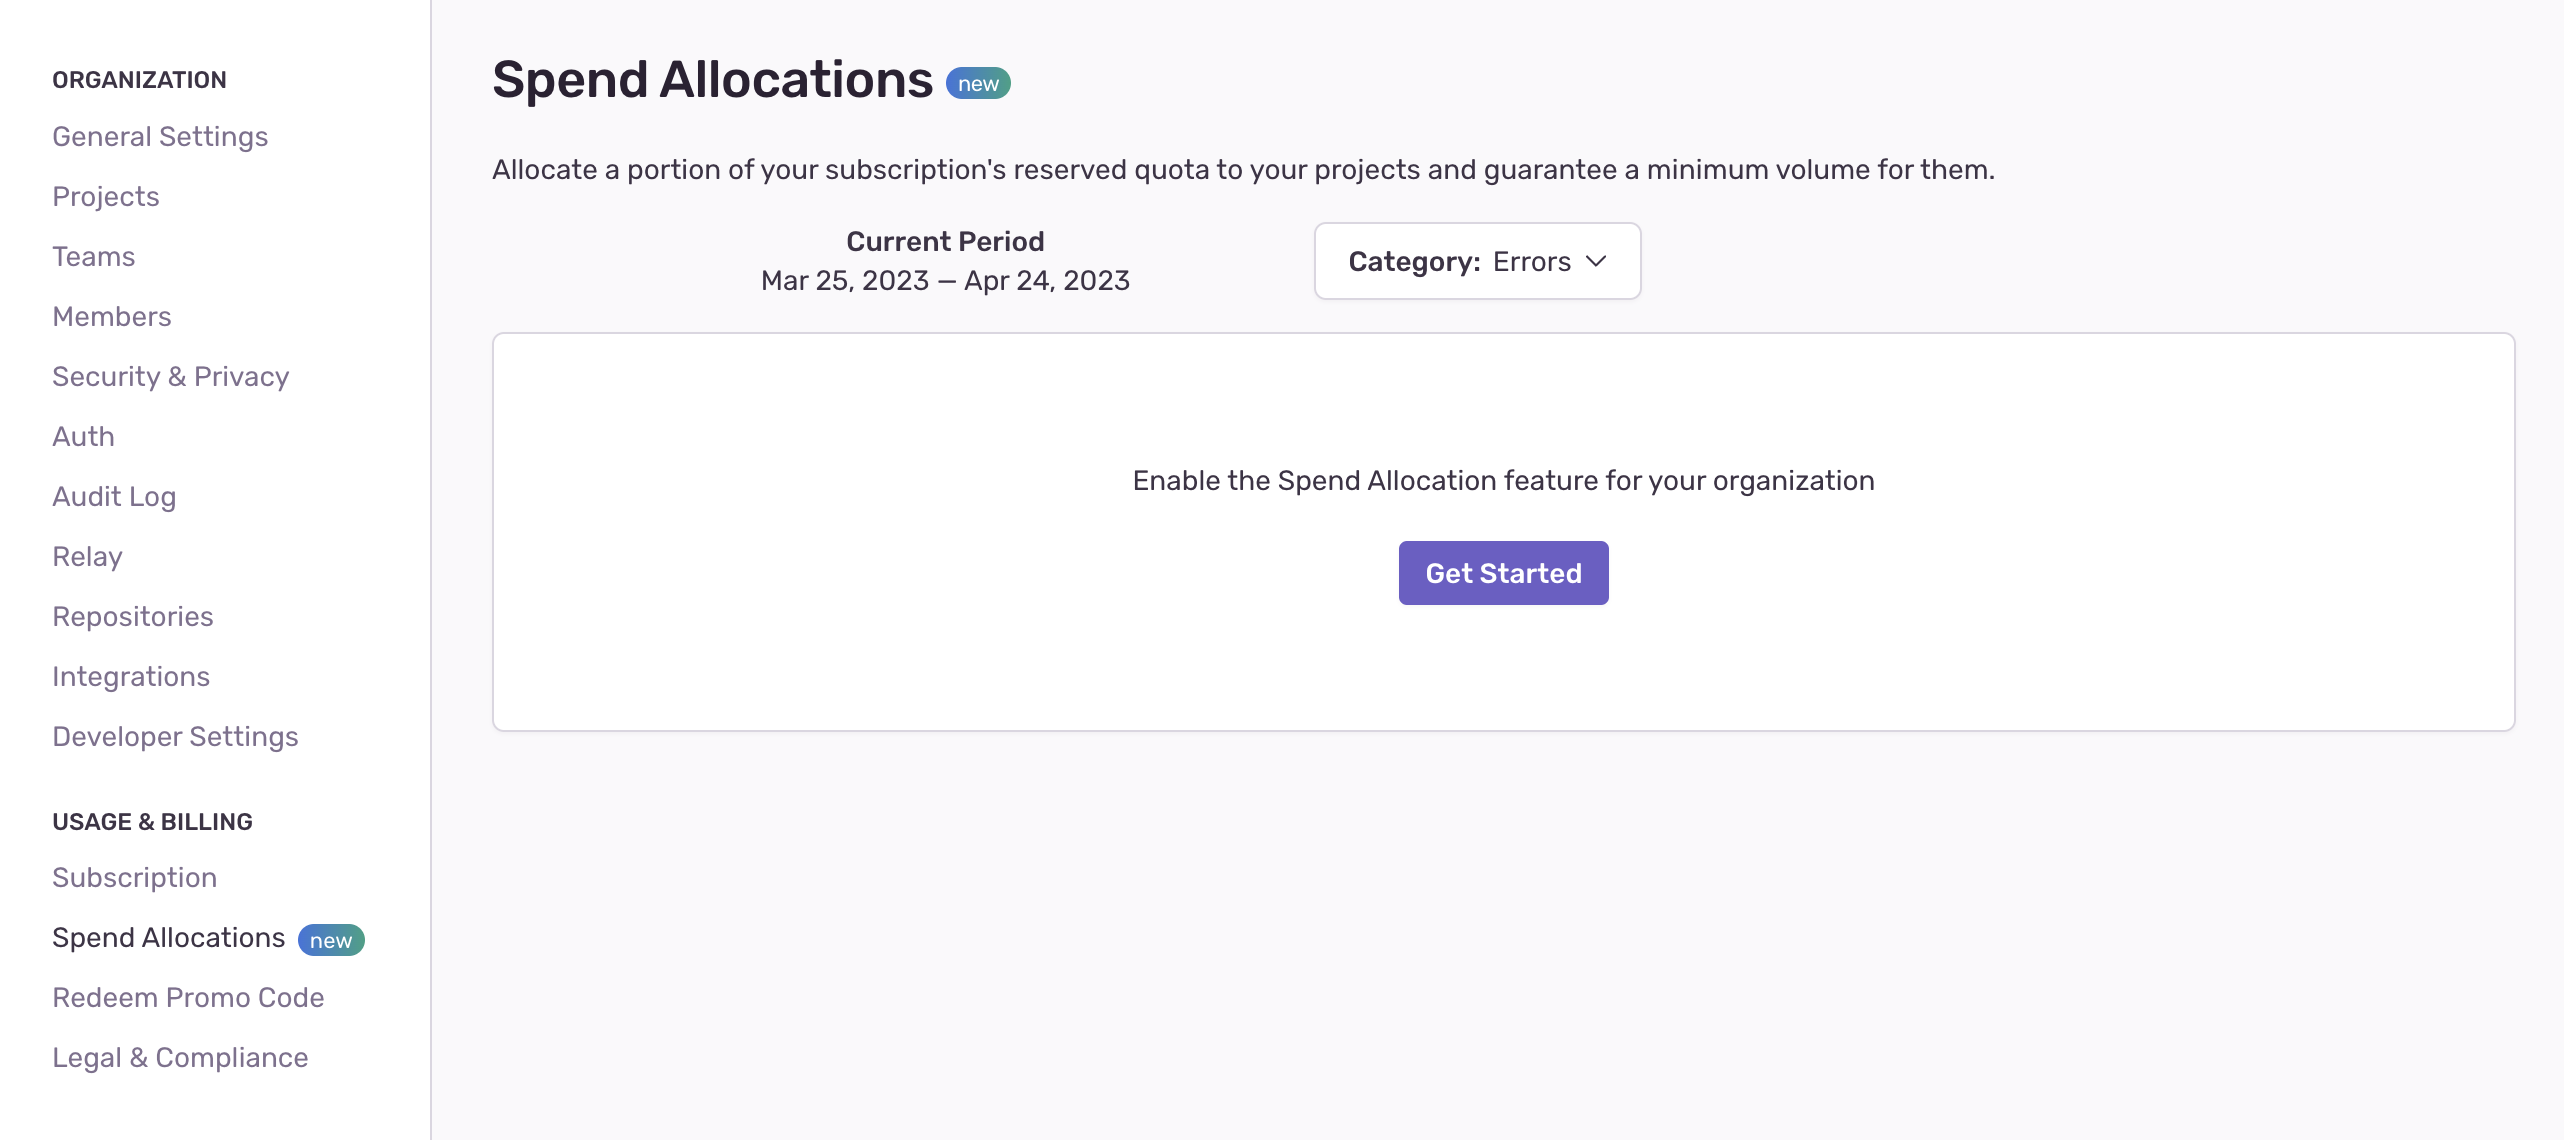
Spend Allocation gives you the ability to prioritize your most important projects (or make sure that smaller projects don't get ignored). You can do this by setting aside a set amount of reserved volume (errors and attachments) to be used by those projects each month. This ensures that all the projects that are important to you are always monitored, regardless of the volume other projects consume.
The per-project allocation you set is the minimum not the maximum number of events each project will get.
To get started with Spend Allocation, look at your total reserved volume and decide how much of it you'd like to allocate to the projects you want monitored. For example, if your total reserved volume is 1M events, and you have two important projects, you can decide to allocate 300K events to project 1, 250k events to project 2, and leave the remaining unallocated pool of 450k events for all other projects.
For each project, you'll need to specify how much of your allocation goes to errors and attachments.
With Spend Allocation, excess event consumption may come from your pay-as-you-go budget, even if you still have reserved volume available.
Once all your monthly volume has been consumed, any additional events will be dropped.
Team members with Manager, Billing, or Owner-level permissions will be notified via email when 80% of your Spend Allocation for each project has been consumed, and then again when 100% has been used up.
The allocations you've made will stay the same from billing period to billing period unless you choose to adjust them.
To enable spend allocation for your Org, you have to have Manager, Billing, or Owner-level permissions. If you've already depleted your quota for a data category, you need to wait until the next billing cycle to configure its spend allocation.
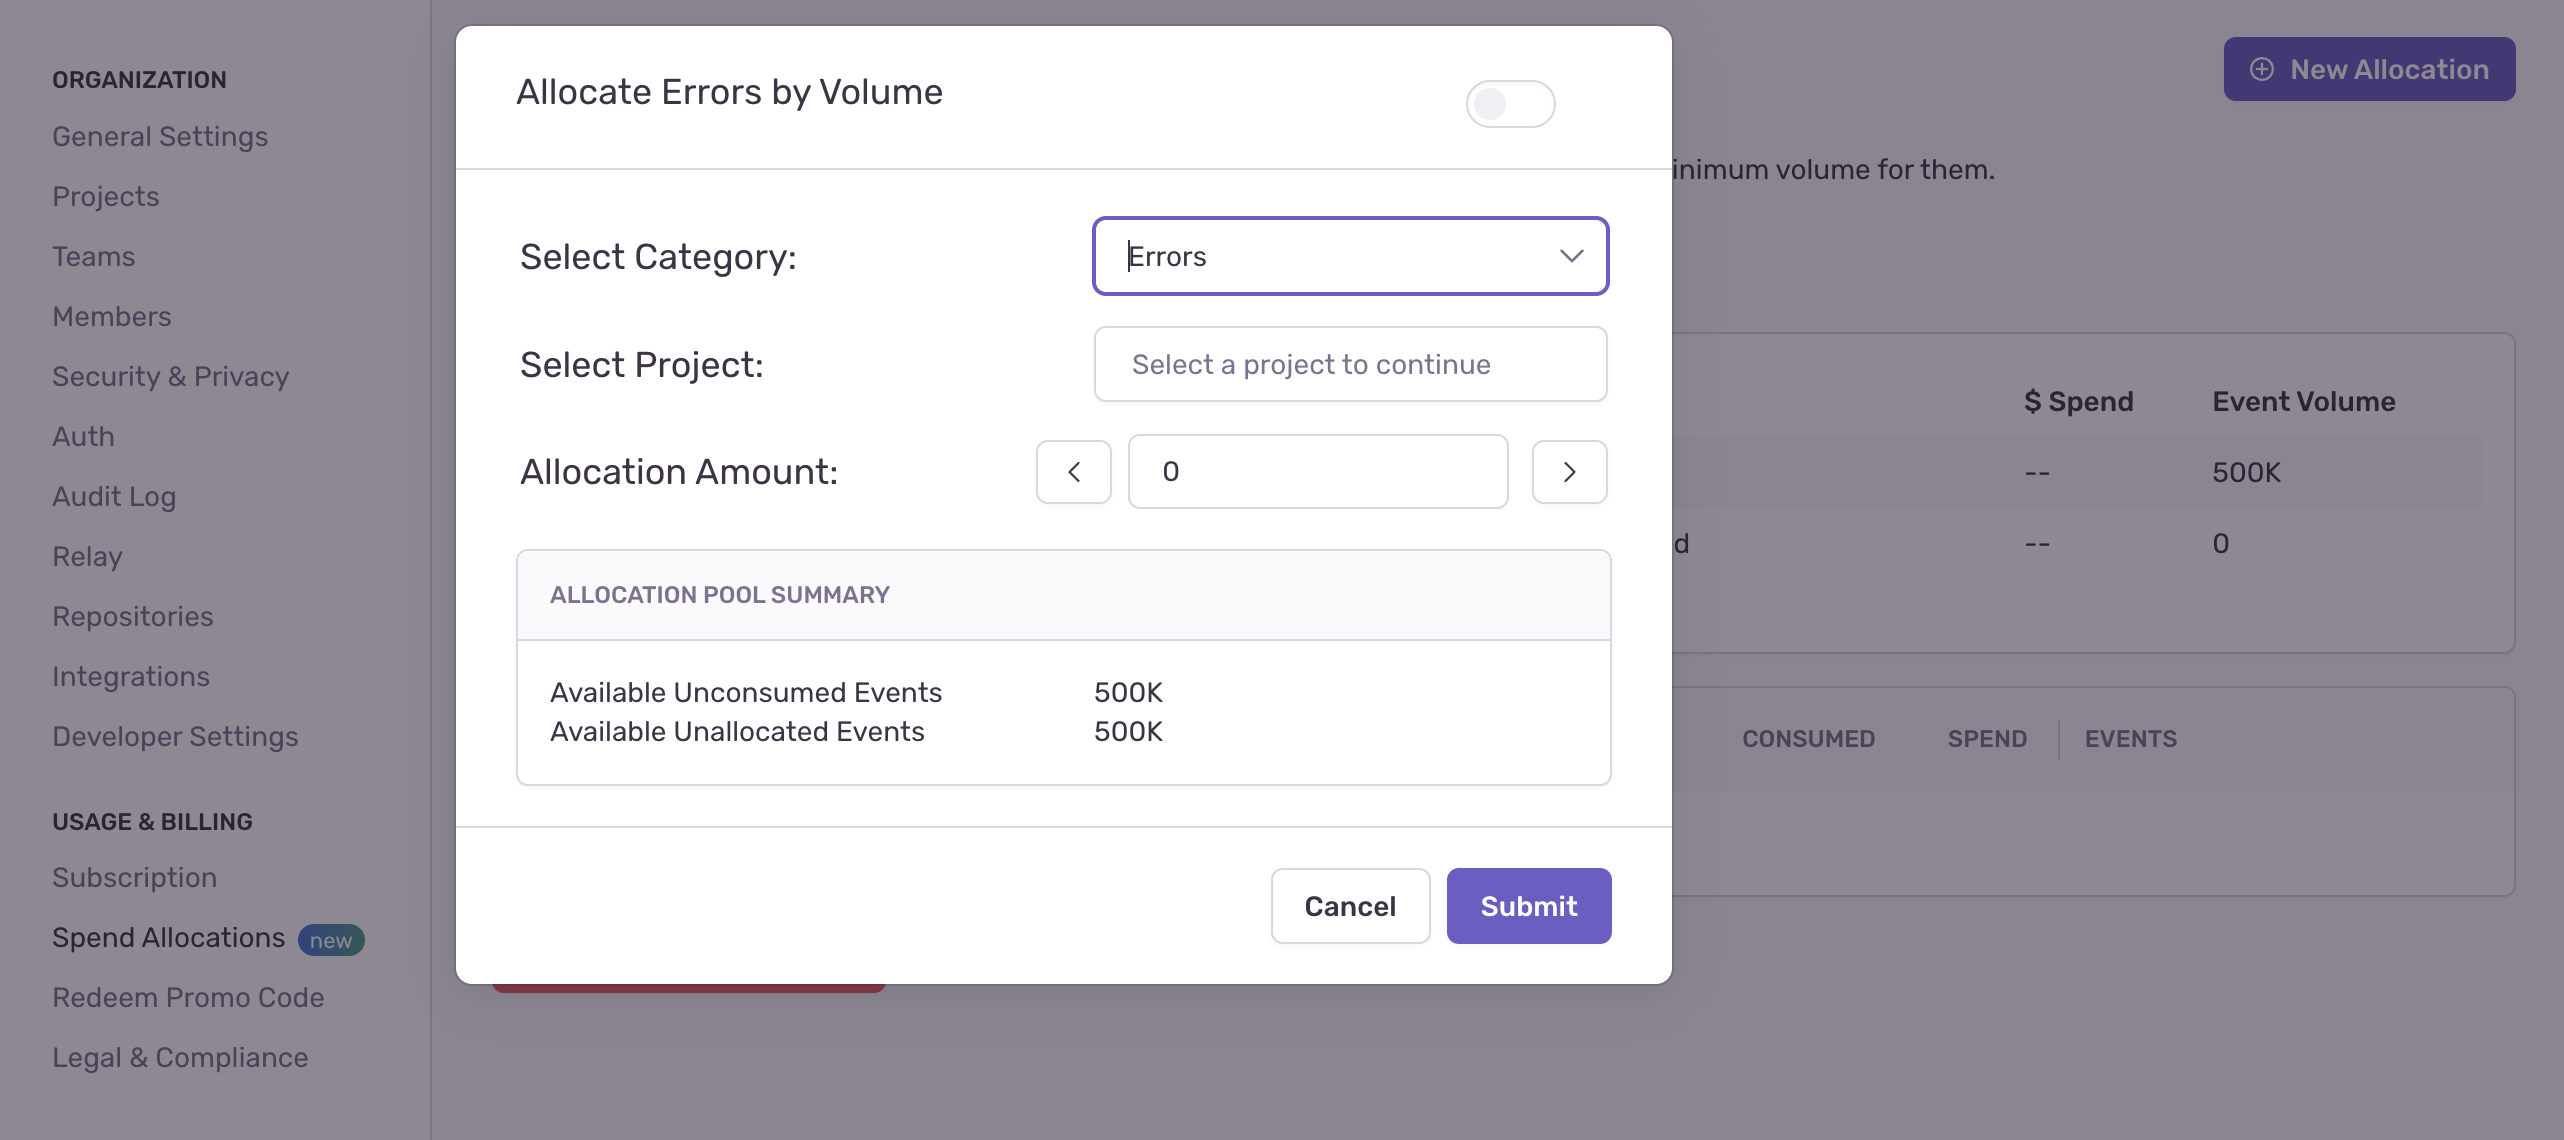
- Go to Settings > Spend Allocations > New Allocation.
- Select the project, the event category (errors or attachments), and the allocation amount you'd like to set aside for that project. You can choose your allocations by volume or spend. Repeat the process for each event type you'd like to allocate to.
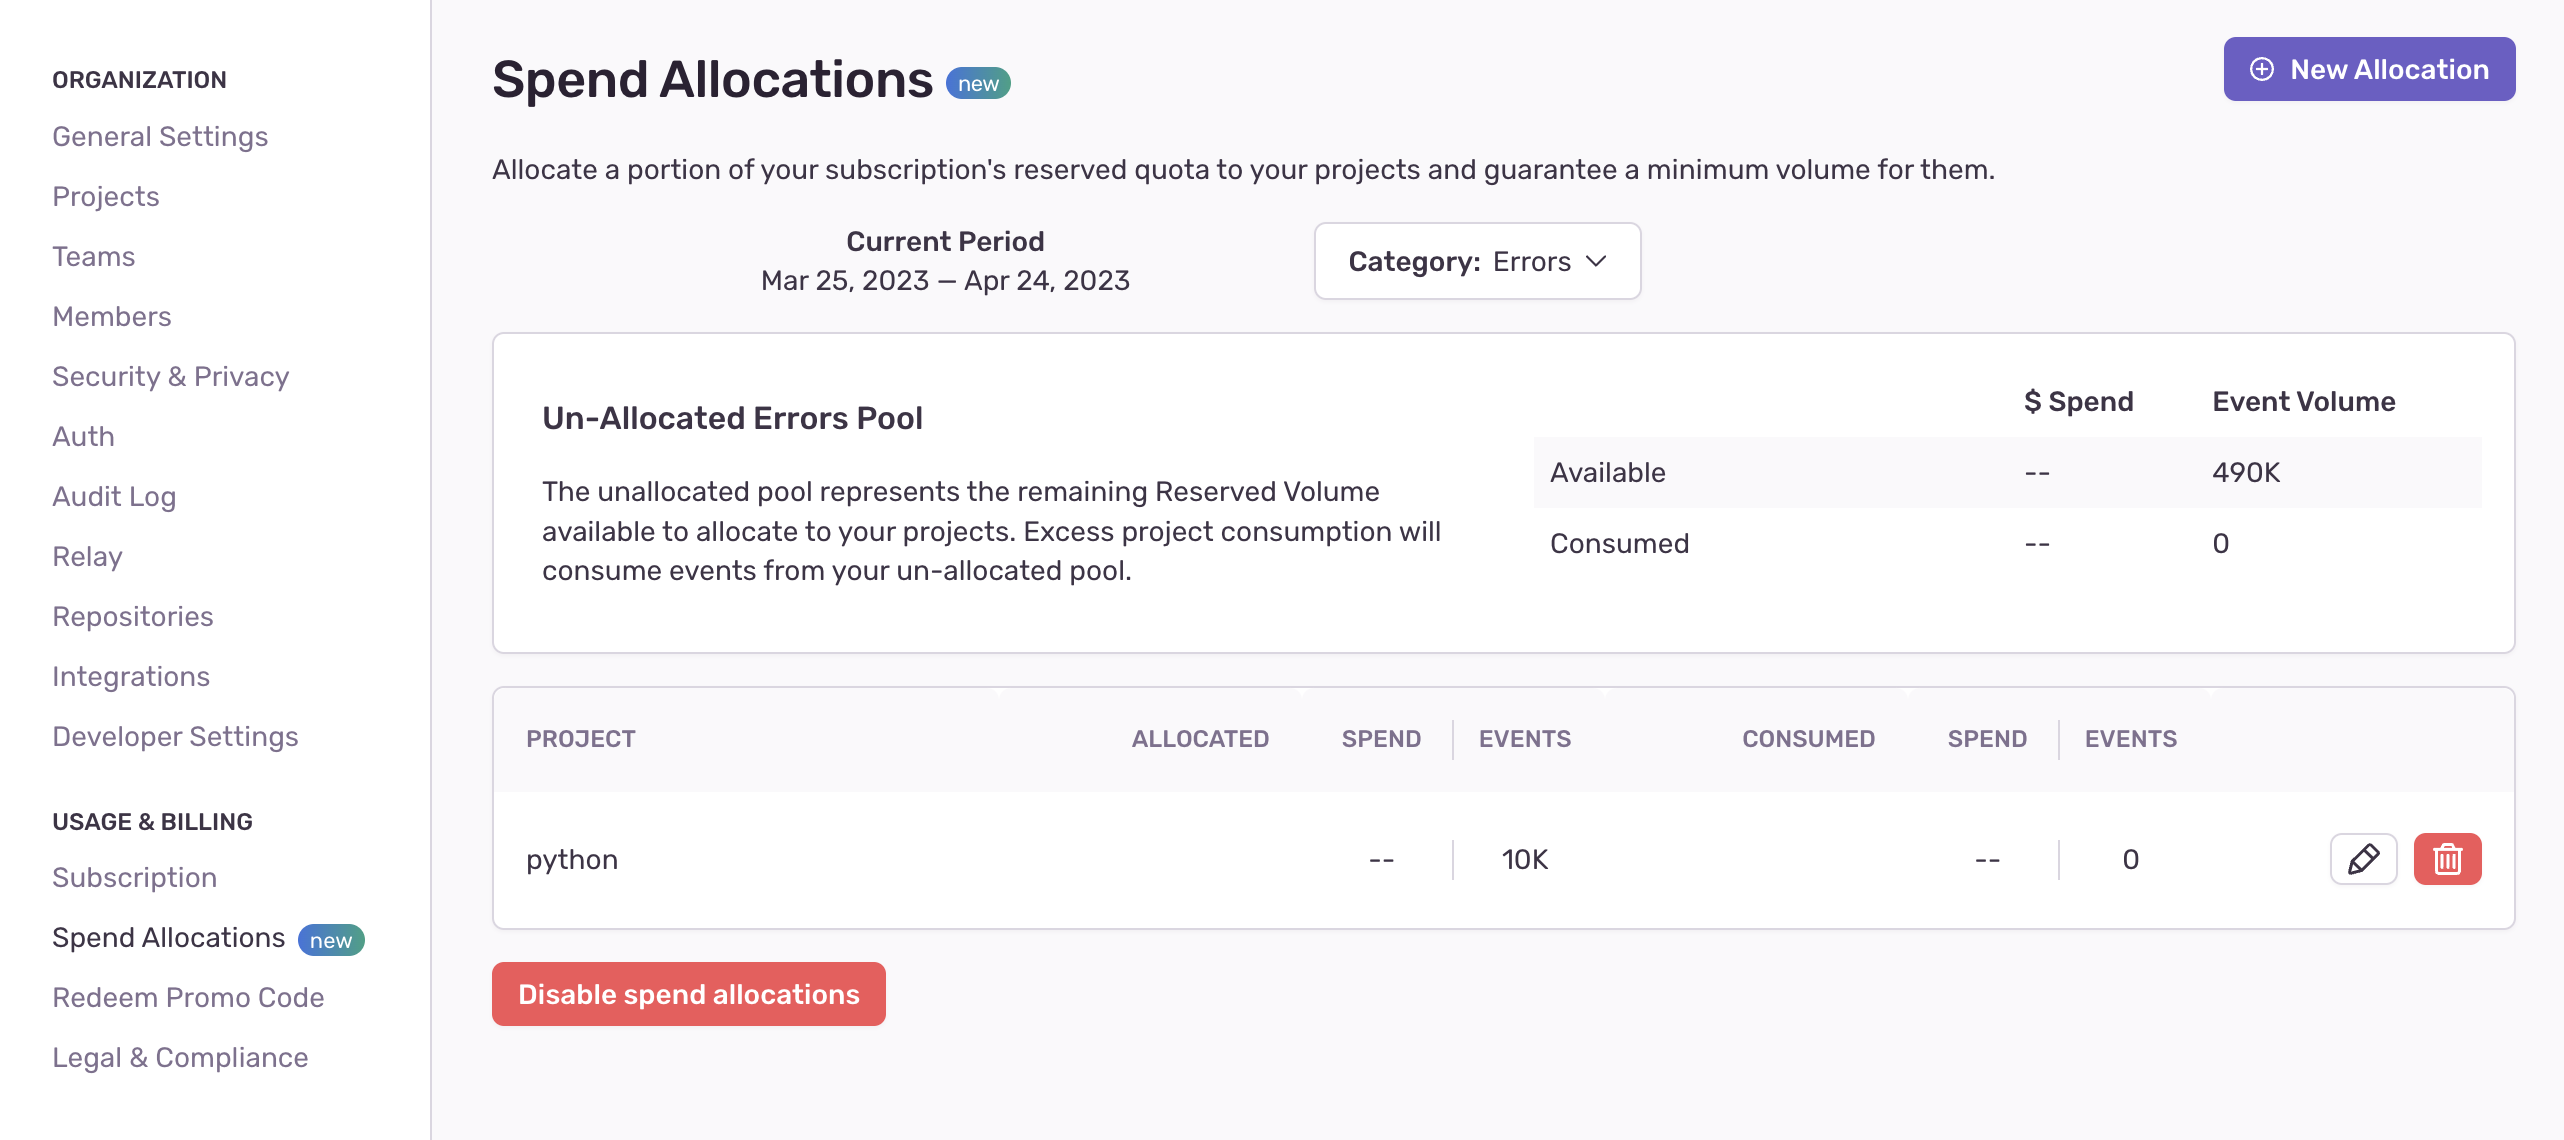
The "Spend Allocations" panel shows both the consumed and the available event volume you have, broken out by event type. You can also see your spend allocation per project. You can make adjustments to your existing allocations in the current billing period if there are enough un-allocated events left to cover your request. If you've already depleted your quota for a data category, you'll need to wait until the following billing cycle to enable/adjust the allocation.
Adding Spend Allocation ensures that the projects you want to pay attention to get the monitoring they need. You can get a sense of how much volume various projects use by going to the Stats page. There are several use cases where having Spend Allocation makes a lot of sense:
For small-service projects - If you have projects for small services in your app that aren't getting the monitoring they need because larger projects are consuming all your event volume.
For main, user-facing projects - If you've identified your most important, user-facing projects and want to dedicate the bulk of your volume to monitoring them.
Our documentation is open source and available on GitHub. Your contributions are welcome, whether fixing a typo (drat!) or suggesting an update ("yeah, this would be better").


